


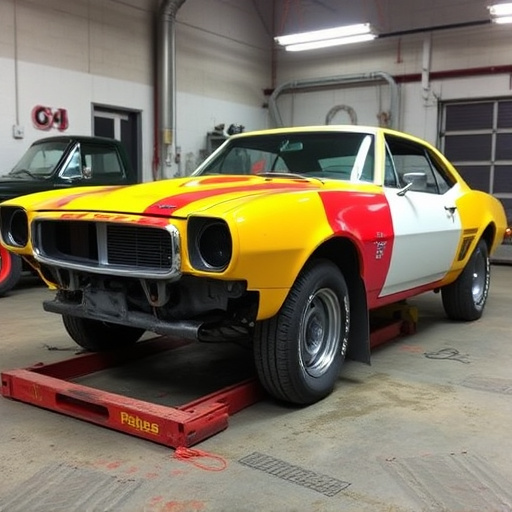


Evaluating damage is crucial for pickup truck body repair, focusing on dents, scratches, rust, and structural misalignments. Tools like wrenches, hammers, welder, sandpaper, body putty, and primers are essential. The meticulous process involves assessing, preparing, replacing panels, filling gaps, priming, and painting to match the original color, ensuring safety and aesthetic appeal. Regular maintenance is key to keeping the pickup truck's body in pristine condition.
“Uncover the fundamentals of pickup truck body repair with our comprehensive guide. From evaluating damage and understanding common issues to mastering essential tools and techniques, we break down the process step-by-step. Whether you’re a novice or experienced DIYer, this article equips you with the knowledge to tackle repairs effectively. Learn how to assess and fix dents, scratches, and more, ensuring your pickup truck retains its strength and aesthetics. Get ready to navigate through the process with confidence.”
- Evaluating Damage and Understanding Common Issues
- Essential Tools and Techniques for Body Repair
- Step-by-Step Guide to a Successful Pickup Truck Body Repair
Evaluating Damage and Understanding Common Issues
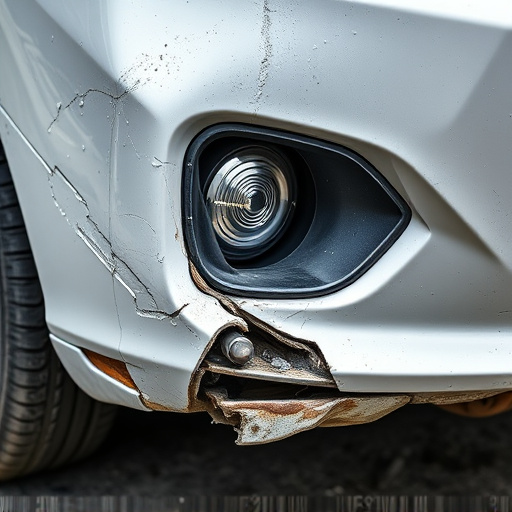
Evaluating damage is a crucial first step in pickup truck body repair. Start by thoroughly inspecting the exterior for dents, dings, scratches, and any signs of rust or corrosion. Look for cracks or breaks in panels, as well as misalignments that could indicate damaged structural components. Common issues include fender dents from parking obstacles or animal encounters, door dings from adjacent vehicles during parking, and damage caused by weather conditions like hailstorms or road salt.
Understanding the types of damage is essential for effective auto body repairs. Some issues may be purely cosmetic, such as minor scratches or dents that don’t affect structural integrity. Others, like significant rust spots or major panel deformities, demand more intensive pickup truck body repair techniques. Knowing the extent of the damage will help guide you towards the appropriate course of action, whether it’s simple touch-ups or extensive vehicle bodywork restoration.
Essential Tools and Techniques for Body Repair
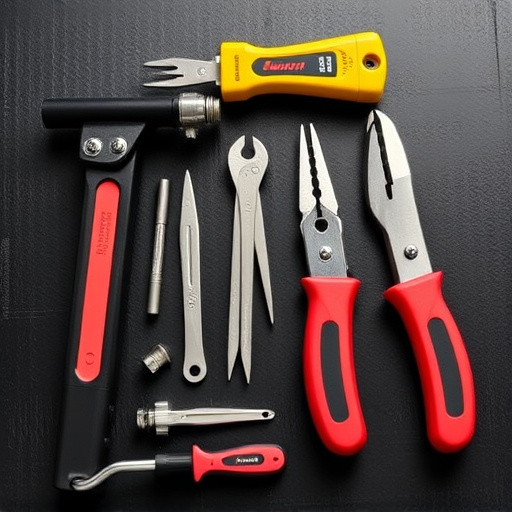
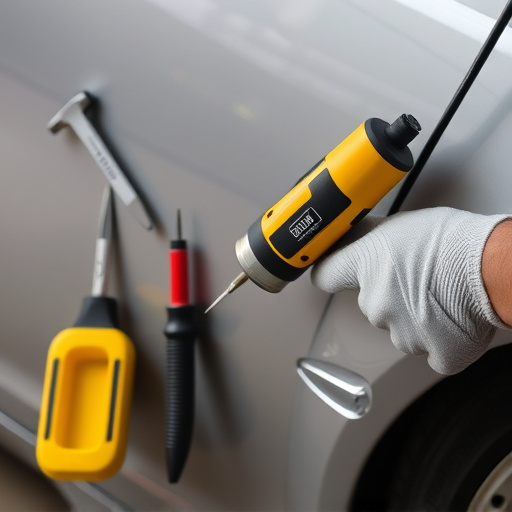
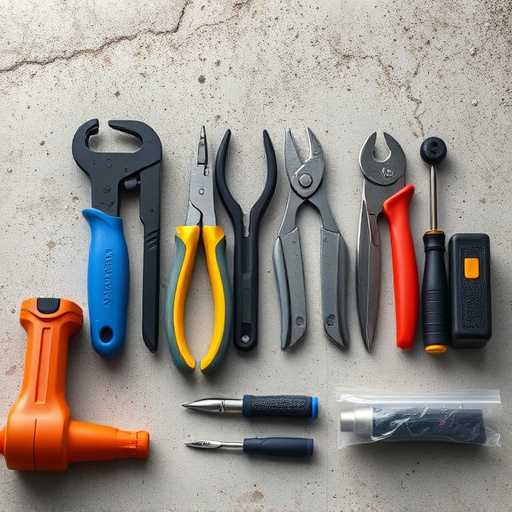
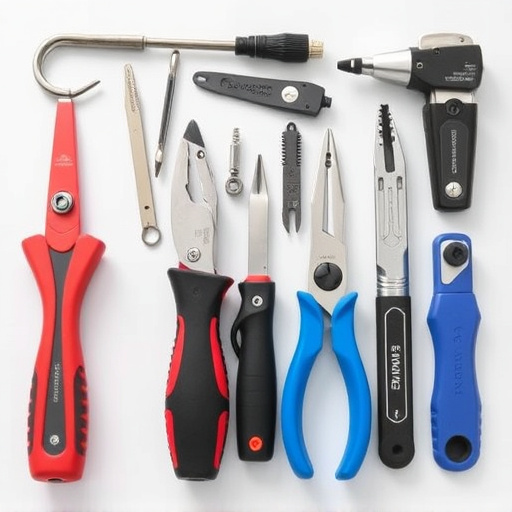
When it comes to pickup truck body repair, having the right tools and techniques is essential for achieving professional results. Basic tools like wrenches, sockets, hammers, and screwdrivers are fundamental for disassembling and reassembling parts. For more intricate repairs, a welder, metal shears, and a variety of clamps become indispensable. A good set of sandpaper, both coarse and fine, is crucial for smoothing surfaces and preparing them for paint.
Additionally, understanding the art of patching and filling is vital. This involves using body putty to repair dents and dings, followed by careful sanding and priming. For more severe damage, replacement panels may be needed, requiring precise cutting and fitting techniques. Proficiency in these tools and methods allows for efficient pickup truck body repair, ensuring your vehicle retains its structural integrity and aesthetic appeal while also enhancing overall safety on the road.
Step-by-Step Guide to a Successful Pickup Truck Body Repair
Repairing a pickup truck body requires careful planning and a systematic approach for optimal results. Here’s a step-by-step guide to ensure a successful pickup truck body repair:
1. Assess the Damage: The first step is to thoroughly inspect the damaged areas, identifying cracks, dents, or holes in the truck’s body panels. Take measurements to ensure accurate replacement parts. In severe cases, it might be best to consult with an auto collision center for professional advice.
2. Prepare the Surface: Once damage is identified, prepare the surface by removing any loose debris, dirt, or rust. This can be done using wire brushes, sandpaper, and degreasers. A clean and smooth surface is crucial for successful bonding during the repair process.
3. Replace Damaged Panels: Depending on the extent of the damage, replace the affected panels with new ones sourced from a reputable supplier offering high-quality parts. Ensure proper alignment and fit before securing them in place using suitable fasteners.
4. Fill and Sand: Fill any gaps or holes left by the damaged panel with auto body filler. Once dry, sand the repaired area smooth to match the surrounding surface.
5. Prime and Paint: Apply a primer to the repaired area to seal the metal and ensure better paint adhesion. Let it dry completely before painting over it using a color that precisely matches your pickup truck’s original finish. A skilled auto collision center can help achieve a flawless, factory-like finish.
6. Final Inspection: After the paint has fully cured, inspect the repair work for any imperfections or misalignments. Make adjustments if necessary to ensure the truck body is in pristine condition once again. Regular car repair services and proper maintenance will keep your pickup truck’s body in top shape over time.
Understanding the fundamentals of pickup truck body repair equips you to tackle common issues efficiently. By mastering damage evaluation, familiarizing yourself with essential tools and techniques, and following a structured guide, you can effectively restore your pickup’s body to its original condition. Armed with this knowledge, you’re well-prepared to navigate any minor repairs that arise, ensuring your truck maintains its robust and reliable performance on the road.